In this article:
Key business outcomes of this method:
- On-premise Exchange mailboxes migrated to Office 365
- Historical (legacy) data is uploaded to a secondary mailbox for each user
- Fresh start for each user with a blank primary mailbox in O365
- No additional licenses of Office 365 are required to execute the migration.
- Entire data migration process can be done by I.T., requiring only changes to users’ Outlook settings at the end. Thus, users cannot make mistakes or accidentally lose data.
- At the end, you end up with a bonus backup of your on-premise Exchange Server.
- Entire migration can be done for free using BackupAssist 365 tools for backup and restore
- After migration is complete, all mailboxes can be backed up using BackupAssist 365.
Outline of steps
The migration involves backing up your Exchange mailboxes to PST files, and then restoring the PST files to Office 365. Our tool of choice is BackupAssist 365.
Here’s an outline of this backup / restore method of mailbox migration.
Prior to the cutover: create new mailboxes and get most of the data copied across.
- Step 1: Back up user mailboxes from the on-premise Exchange Server to PST files, using BackupAssist 365.
- You can choose to only back up selected mailboxes, so that priority can be given to current employees.
- Former employees can be migrated later.
- Step 2: Create a new user in Office 365 to act as the “upload” login. This “upload user” requires the Exchange Admin role, but does not need to be a licensed user.
- Step 3: Create a shared mailbox for each user’s mailbox that needs to be migrated to O365. We chose a naming convention like “first.last.legacy@domain.com”. This is where each user’s legacy data will be uploaded.
- Step 4: Upload each user’s PST file to the designated legacy mailbox.
By now, the bulk of the migration is complete. Once you’re ready, execute the cutover itself and direct incoming emails over to Office 365. That process is well documented by Microsoft, and beyond the scope of this article. |
After the cutover: you’ll do a top-up migration.
Why? Because several days may have passed since your original backup of the on-premise Exchange Server. During this time there is a window where new email will be received but not migrated to Office 365. Therefore, an incremental top-up is required.
- Step 5: Run the backup of the on-premise Exchange Server again, to top-up the PST files with the latest data. (This is a repeat of Step 1)
- Step 6: Run the upload of each user’s PST again. (This is a repeat of Step 4)
Note: the top-up steps 5 & 6 run quickly because only differences need to be migrated across.
- Step 7: Once all user data has been migrated, it’s time to give the users permission to access each of their respective legacy mailboxes.
- Add delegated permissions from each Shared Mailbox to the appropriate user.
- Delete the “uploader” user login.
- Step 8: Give your users instructions on how to connect to their new mailboxes. Later in this blog, we’ve even included the emails that we sent to our users!
Do you need a more detailed set of instructions? Here’s the step by step HOWTO for some of the trickier parts.
Detailed HOWTO instructions
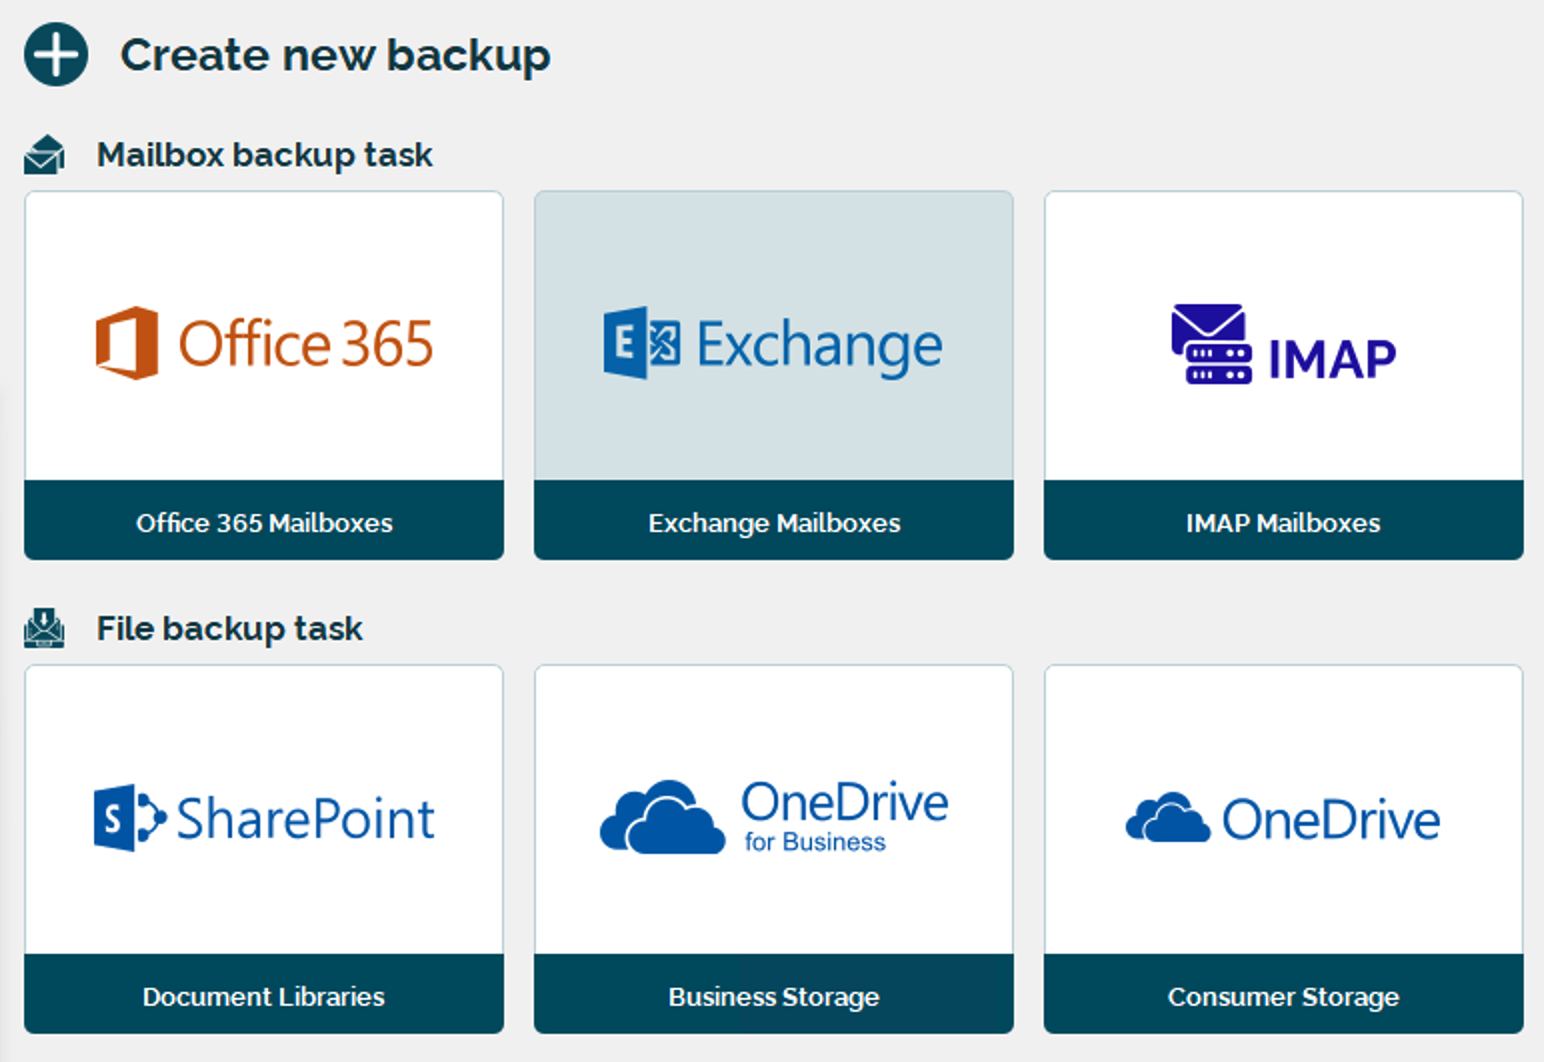
How to back up your on-premise Exchange Server with BackupAssist 365
- Download the free trial of BackupAssist 365 from the BackupAssist 365 downloads page. There are no limits imposed during the trial, so you can complete your entire migration for free.
- Set up an Exchange backup task to back up the desired user mailboxes to PST file. Make sure you have enough space in the destination directory. Here is a sample screenshot of the configuration that we used for our own server migration:
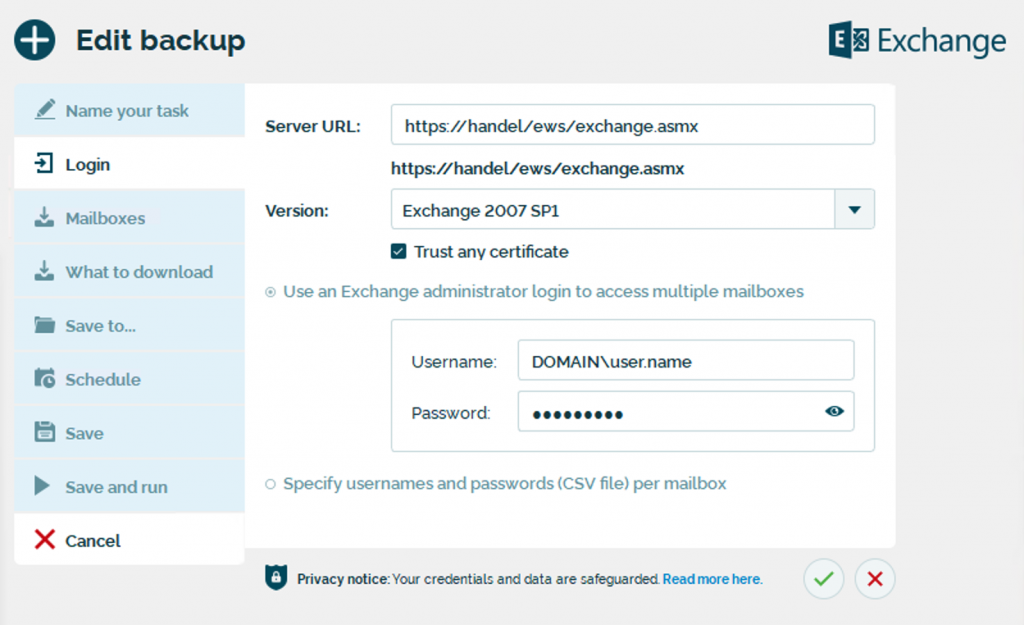
- You’ll need to specify a user login into Exchange, so that BackupAssist 365 can access the mailboxes and back them up. Because this user will have the Exchange Admin role assigned to it, BackupAssist 365 will automatically grant the necessary permissions for the upload user to access each mailbox it’s uploading to.
- Wait for this to finish. In our case, it took 68.5 hours to back up 106GB of data.
How to create the shared mailboxes in Office 365 for legacy data
- If you haven’t already, create a login into Office 365 to do the upload. For good security, we recommend creating a separate login to do this upload, because after the migration is complete, you can delete the login.
- Right now, you’ll need to use Basic Authentication (username / password). We plan to support Modern Authentication in the near future.
- To create a shared mailbox for legacy data, you’ll use the Exchange Admin Center. Because we found the center to be buggy and misleading, we include specific step by step instructions here:
-
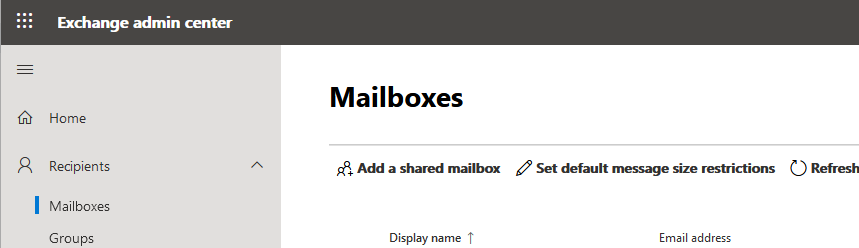
Log into the Office 365 administration console, and start the Exchange Admin Center. Our screenshots show the “new” admin center, but the “old” one can also be used.
-
Under the Recipients → Mailbox tab, click on the button to “Add a shared mailbox”

-
Then add details for the mailbox. You can see the convention that we used.

-
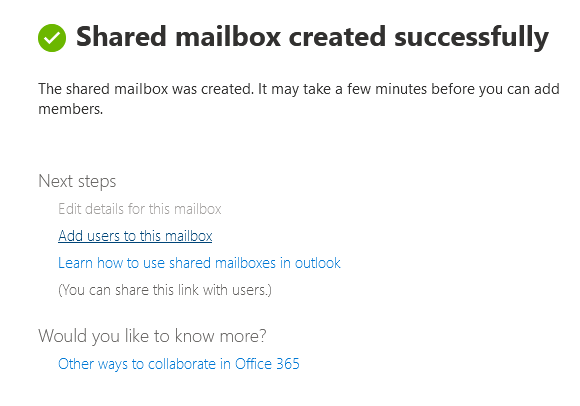
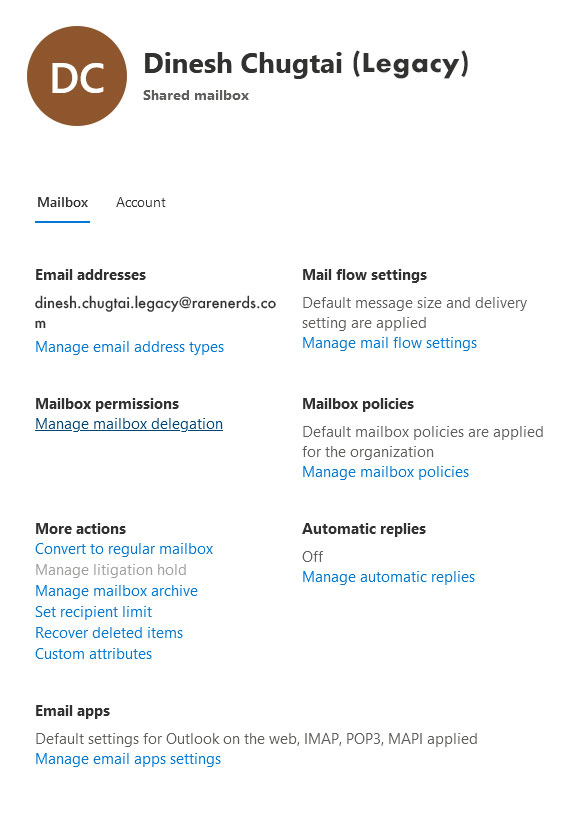
After the mailbox is created, you’ll get a confirmation screen. Click the blue button “View details” in the bottom left, after this is complete. Do not click on the links as we have found that they don’t work.

-
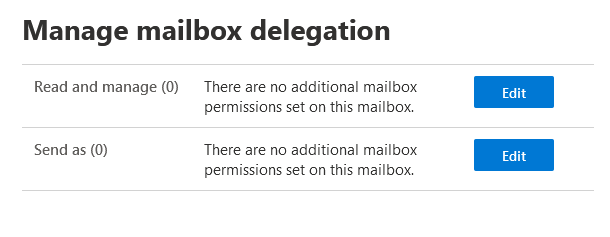
Now you’ll see the details of the mailbox. Under the heading “Mailbox permissions”, click the link for “Manage mailbox delegation”.
-
Click the “Edit” button for “Read and manage”

-
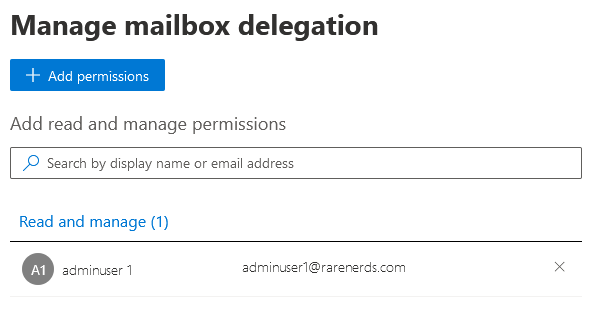
Click the blue “Add permissions” button, and check the designated uploader user. In the screenshot below, this is called “adminuser1”, but you do not need admin privileges.

-
After doing this, you’ll see the following screen. If the name of your user does not appear (as happened to us a few times), simply repeat the process.

- The shared mailbox will now be ready to receive your legacy mailbox data. However, we have observed that sometimes it can take 30-60 minutes for the permissions to take effect. Therefore, we recommend performing this step well ahead of time.
-
Log into the Office 365 administration console, and start the Exchange Admin Center. Our screenshots show the “new” admin center, but the “old” one can also be used.


How to upload the PST files to the new shared mailboxes.
To do this step, we chose to use a batch file per user. The batch file will upload the contents of a PST file to the new shared mailbox. Change the set statements to suit your needs.
set USER=uploader@rarenerds.com
set PW=INSERTHERE

set TASKNUM=1000
set SOURCE=dinesh.chugtai@olddomain.com.pst
set TARGET=dinesh.chugtai.legacy@rarenerds.com
set PSTPATH=C:\MigrationBackups

set EGREXE="C:\Program Files (x86)\Cortex I.T. Labs Pty Ltd\BackupAssist 365\maillibnet\Egr.UI.ConsoleApp.exe"
set LOGDIR="C:\Logs"

%EGREXE% --task_number=%TASKNUM% --src_path="%PSTPATH%\%SOURCE%" --src_type=PST --dest_type=EWS --dest_url=https://outlook.office365.com/EWS/Exchange.asmx --dest_user="%USER%" --dest_password="%PW%" --log_dir=%LOGDIR% --skip_reading_errors --skip_saving_errors --target_mailbox="%TARGET%"
You can run several uploads concurrently.
Closing remarks
As always, there are many ways to achieve a migration, and we’ve presented one such way that has worked well for us, is inexpensive (costing $0), and achieved our business goals.
And we’re no longer dependent on an on-premise Exchange machine.
You can certainly make variations to our method to meet your needs. If your users prefer to have all their legacy data in their main mailbox, simply change the upload batch file to log in as each user, and remove the “–target_mailbox” parameter.
As a bonus, you can also copy across all your historical mailboxes for employees that have left the company. If you copy them to shared mailboxes, with no delegated permissions to anyone, then it’s also fairly safe from a security viewpoint.
Finally, once your data is in the cloud, you can use the BackupAssist 365 backup solution to protect all your mailboxes. Backing up shared mailboxes is free, so that means you’re getting unbeatable value in protecting both new and legacy mailbox data.