TL;DR Summary
| Attempt | Method | Result |
|---|---|---|
| 1 | Export to OVA & Import to VMware | Failed: hung at “Getting devices ready” |
| 2 | Copy virtual disks & create new VMware VM | Failed: “no media” |
| 3 | Backup source VM and recover to new VMware VM with BackupAssist ER | Success |
Attempt 1: export to OVA file and import into VMware (failed)
My first attempt was following VMware’s instructions, as outlined in their knowledge base article, Importing Virtual Machine from Oracle VirtualBox to VMware Fusion, Workstation, or Player.
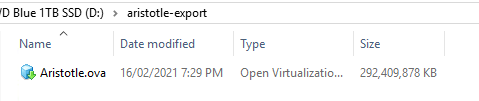
This involved exporting from VirtualBox to an OVA file, and saving that to a network share on my new host machine. VirtualBox successfully created the OVA file:
Continuing with the instructions, the import into VMware Workstation was fairly straightforward, but I did encounter the error message mentioned in VMware’s KB article, where the OVA file did not pass OVF specification checks:

However, after the import completed and I started the machine, things hung at “Getting devices ready”.
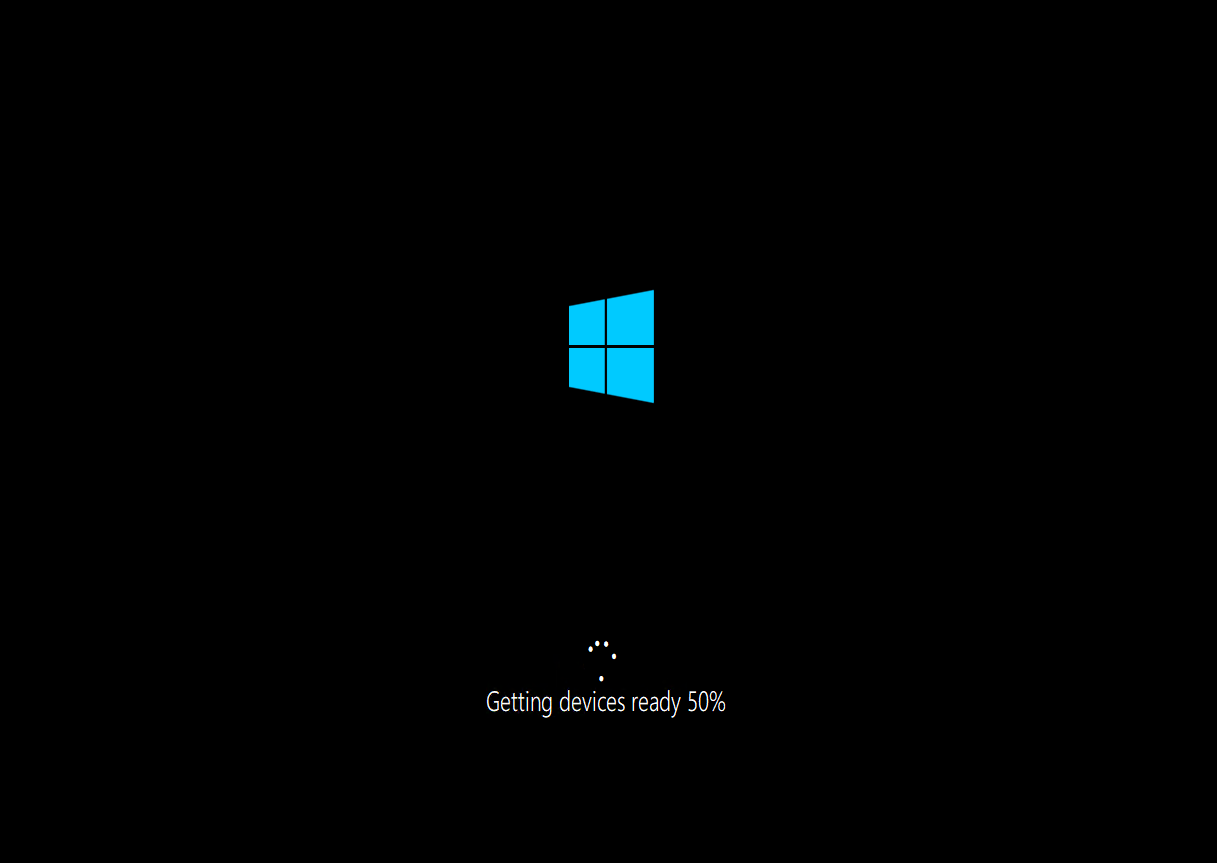
The virtual machine simply hung at this screen – for hours. After a hard reboot, the VM would go into a blue screen, saying that “It looks like Windows didn’t load correctly.”
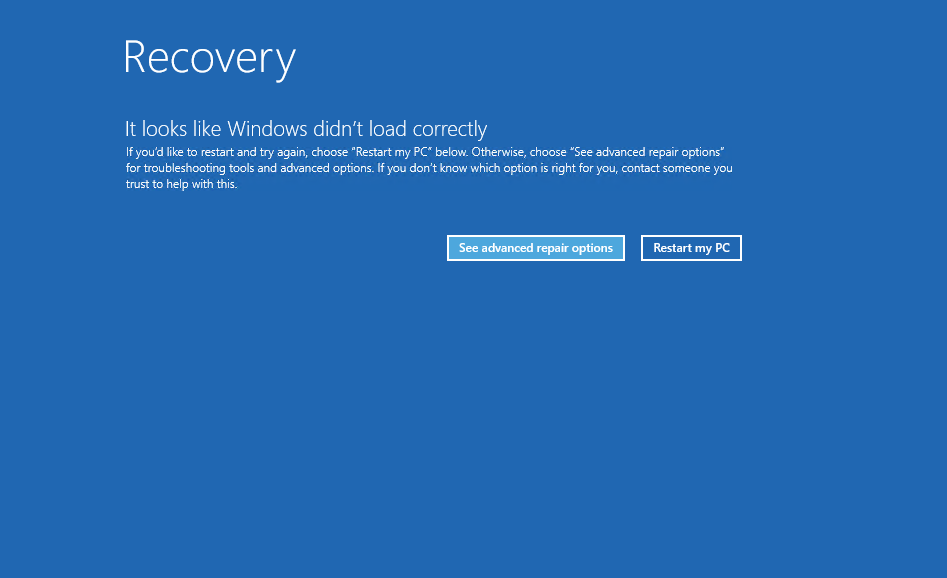
I just could not get past this stage, despite trying various repair options.
Attempt 2: copy the virtual disk files across and create a new VM
My second attempt was to copy across the virtual disk files. When I set up the VirtualBox machine last year, I chose to use the VMDK file format for the virtual hard drives, knowing that it might come in handy someday.
So theoretically, if I copy the VMDK file to the new host and then create a new VMware VM using that disk, it might work – right?
Sadly, this idea did not work.
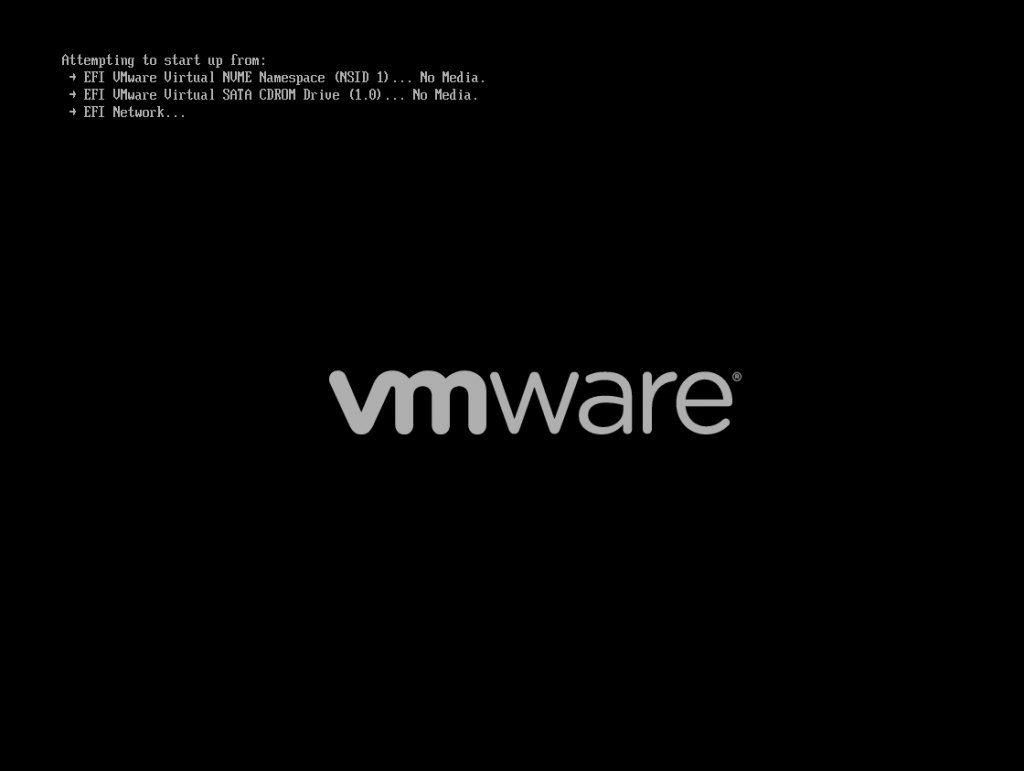
When trying to boot, I got “no media” on the boot disk.
I tried numerous things to get it to work – manually using diskpart to set the bootable partition, or overwriting the boot sector with bootsect.exe. Sadly, nothing seemed to work.
Third time lucky – backup and recovery
My backup plan was literally to do a backup of the VirtualBox VM, and recover it into a VMware Workstation VM. This method worked like a charm.
Here’s the cheat sheet:
On your original VirtualBox VM machine:
- Download, install and run BackupAssist ER on your source machine – www.backupassist.com/er/downloads
- Run it in evaluation mode – click the “Skip for now” link when you start the application.
- Set up a new backup job:
- Back up to local storage:
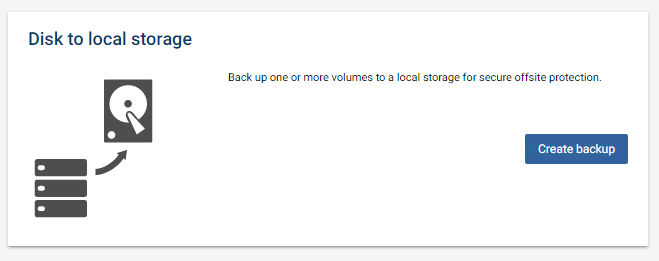
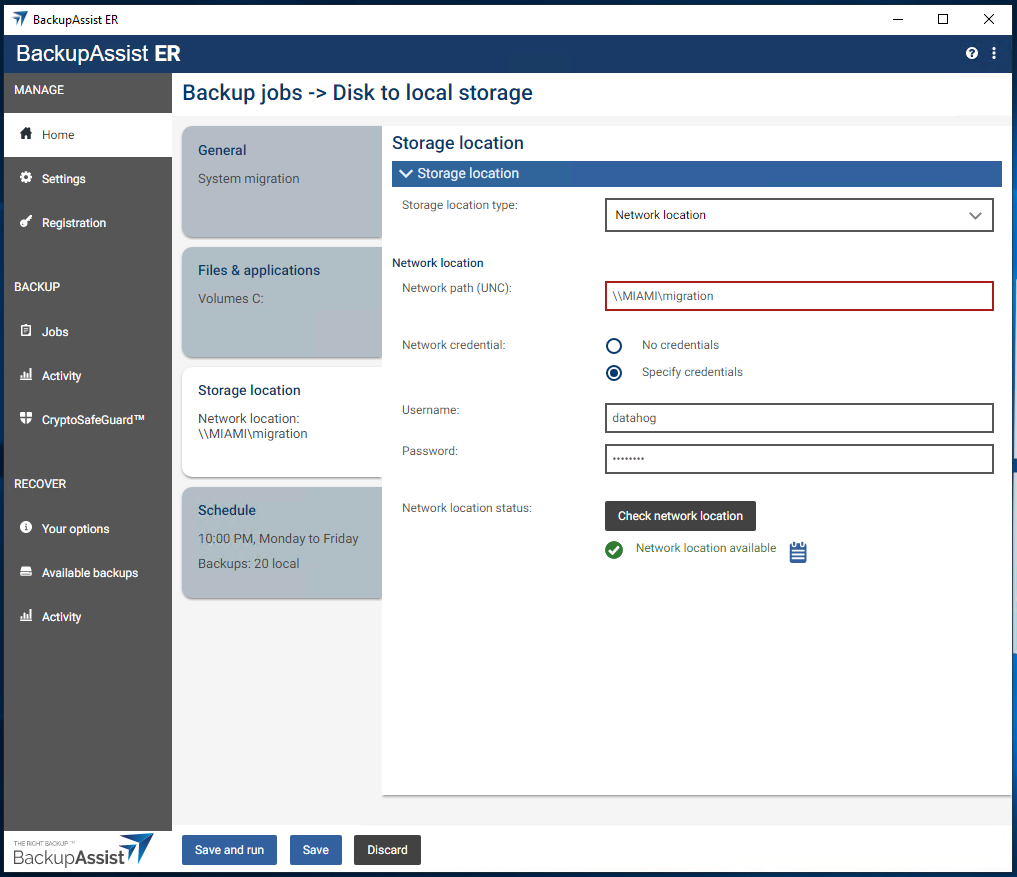
- Choose to back up to a network share. I created a share on my VMware host machine, and backed up from the source VM straight to the VMware host.
- Create the “Lifeline Media” recovery ISO. This is a Windows Recovery Environment that you can boot into to start a bare-metal system recovery. Save the ISO to the network share as well.
On the new VMware host machine:
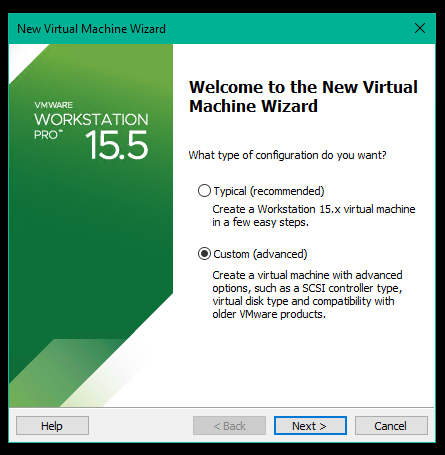
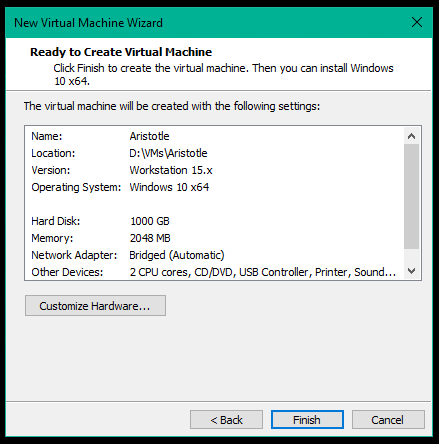
- Create a new VMware guest machine, but select “Custom” at the first wizard screen.
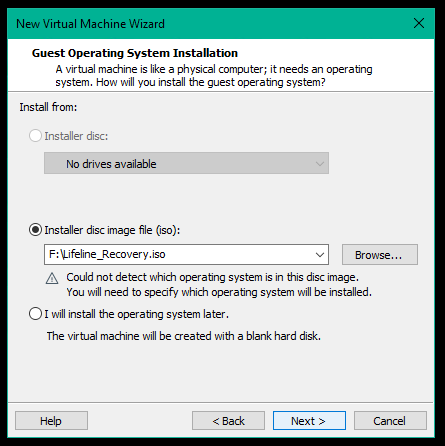
- Choose the installer disc file, pointing to the Lifeline Media ISO that you created in Step 6.
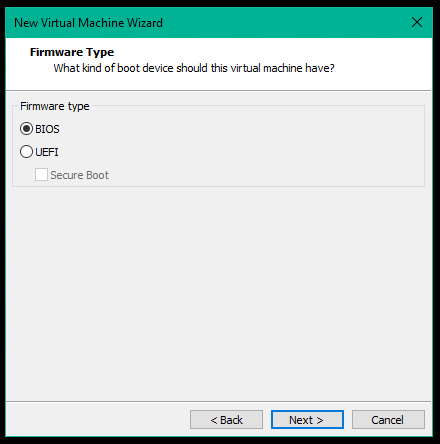
- Choose a firmware type that matches your VirtualBox machine. By default, VirtualBox uses BIOS, so it’s likely you’ll choose BIOS in VMware too.
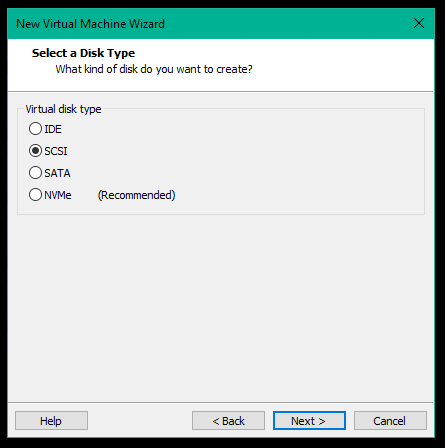
- Select a disk type that matches your VirtualBox machine. By default, VirtualBox uses SATA, so it’s likely you’ll choose SATA in VMware too. But I found SCSI worked for me – the recovery in BackupAssist ER caters for this change in interface.
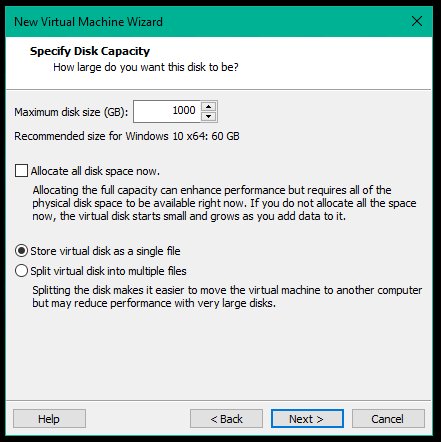
- Make sure the capacity of your new hard disk is bigger than the original disk.
- Fill out the remaining steps, and create your VM.
Boot the VM, and now use Lifeline Recovery to recover from backup
- Lifeline boots into this screen
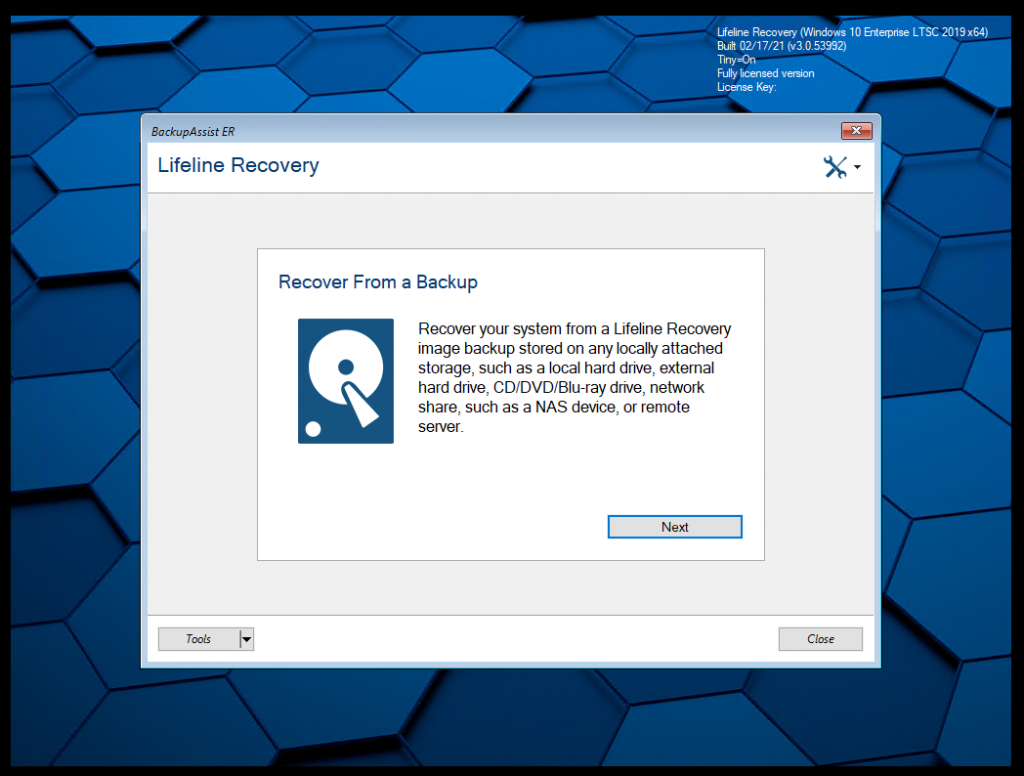
- Choose to recover from a network share

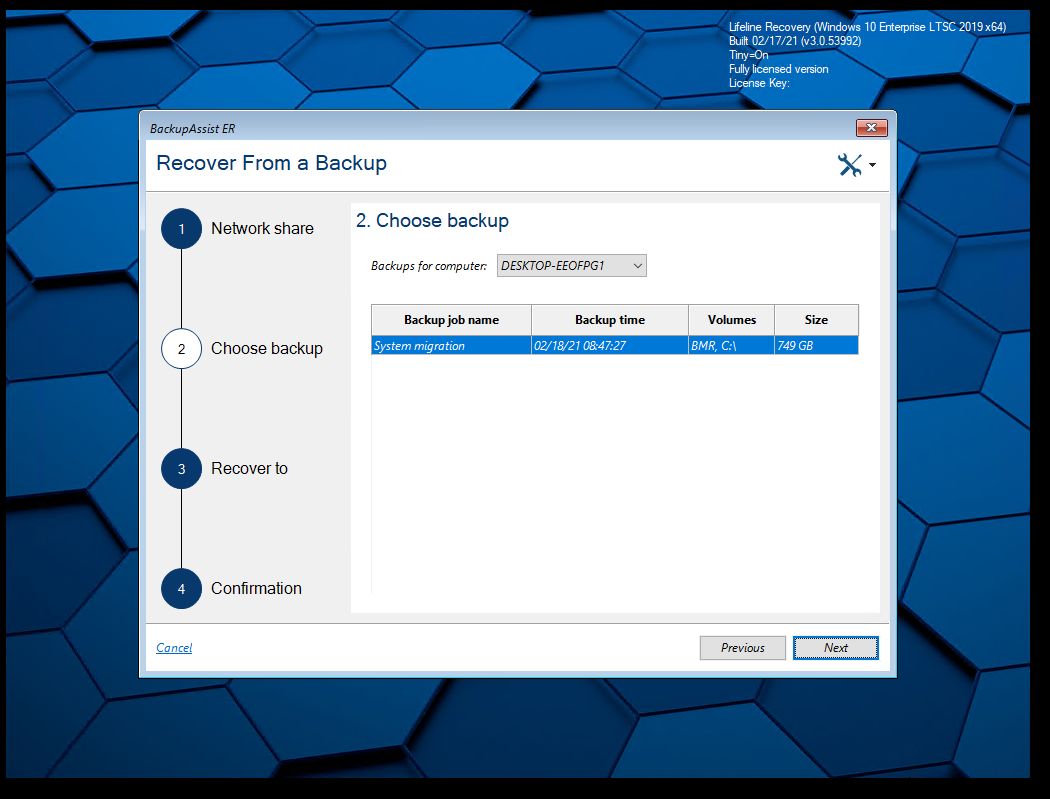
- Fill out the details to connect to the share

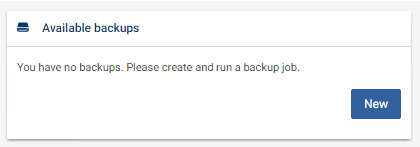
- You’re then presented with a list of available backups. You should only have one option available.
- You can choose where to recover to. I only had one disk.
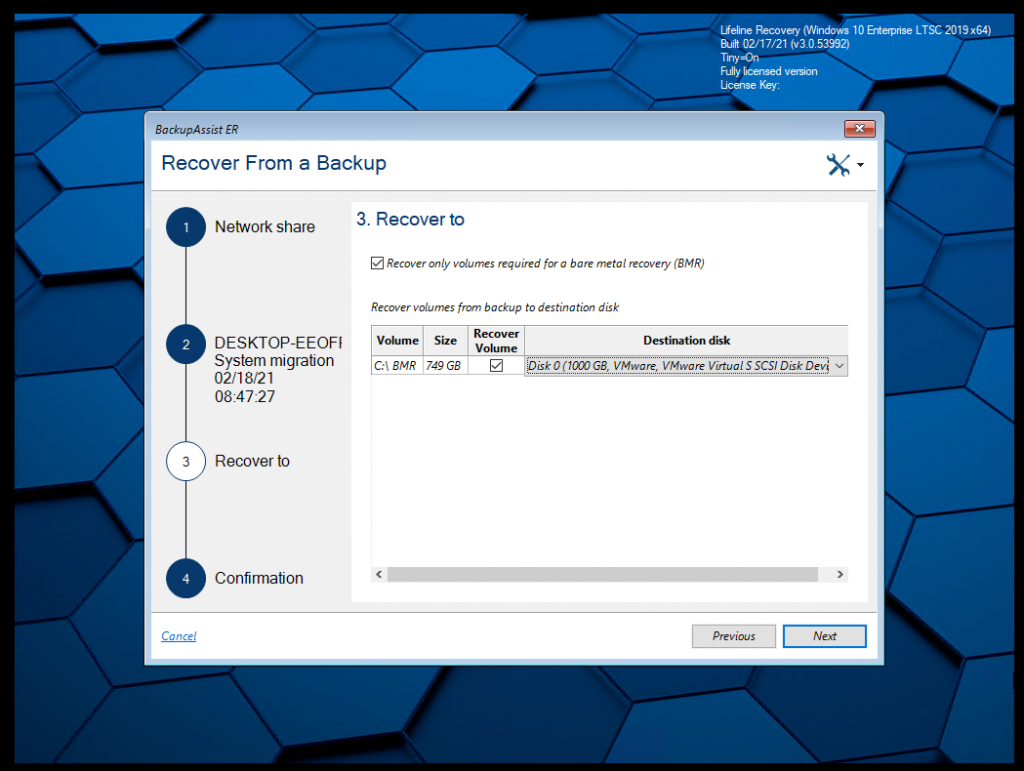
- Confirm that the details are correct.

- Wait for the recovery to complete. At the end, you get progress bars that are at 100%.
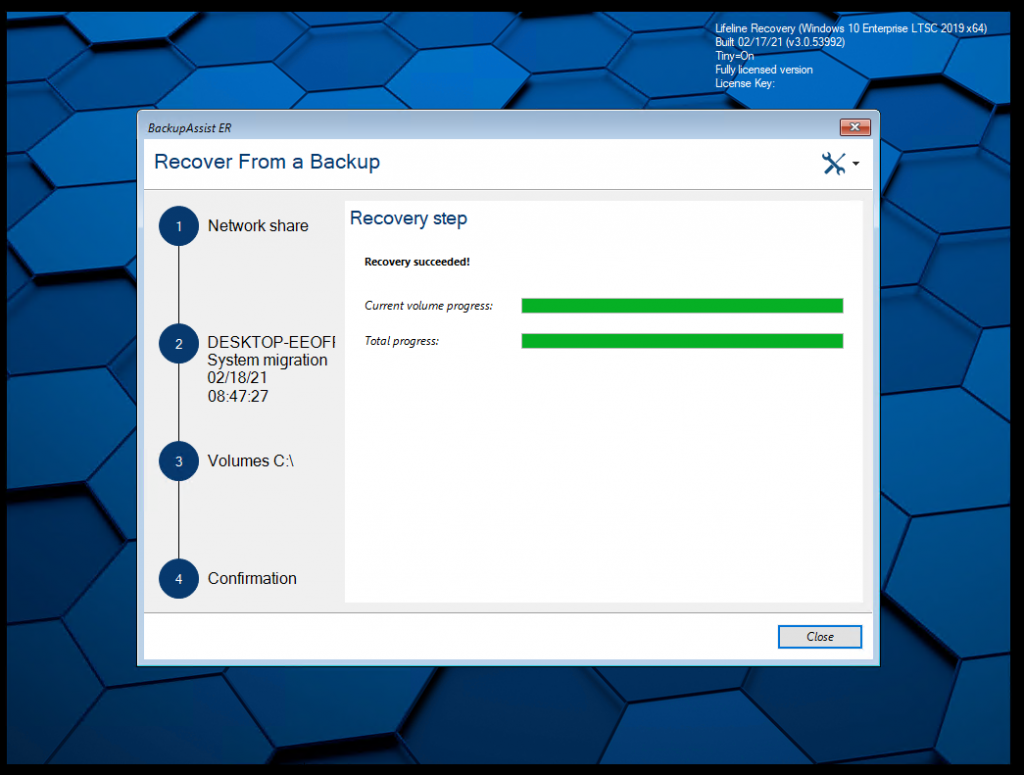
Then, on the next restart, your machine will boot up and you’re running again. Then in VMware, disconnect the ISO from the virtual machine, and you’re all done.
Conclusion
If the regular methods of VM migration from VirtualBox to VMware fail, then you have a “backup” option of doing a backup and recovery.
BackupAssist ER is a great tool to use for this, because it allows you to do a hardware independent recovery. And because you can do the migration within the trial period of the software, it’s also free to run this process.
Enjoy!